white logo
starting chamomile from seed indoors this spring

Starting Chamomile From Seed Indoors

March 1, 2026

Chamomile is one of the most rewarding herbs a home gardener can grow and one of the most forgiving. It asks for very little: a sunny spot, reasonably well-drained soil, and consistent harvesting. In return, it gives an extraordinary amount. A few well-tended plants can produce enough flowers for a daily cup of tea all summer long, with plenty left to dry for winter use.
In New Jersey and across the Northeast, March is the ideal time to start German chamomile seeds indoors. Beginning 6 to 8 weeks before your last frost date gives seedlings the head start they need to begin flowering by early summer. German chamomile is an annual, but it self-seeds readily, meaning that once you have it established in a garden bed, it tends to return on its own year after year.
Important distinction: For tea and medicinal use, always choose German chamomile (Matricaria chamomilla), not Roman chamomile. Roman chamomile is a perennial ground cover with a more bitter flavor that is less suitable for tea. Most seed packets labeled simply “chamomile” in a garden context refer to German chamomile — but it is worth confirming the Latin name on the package
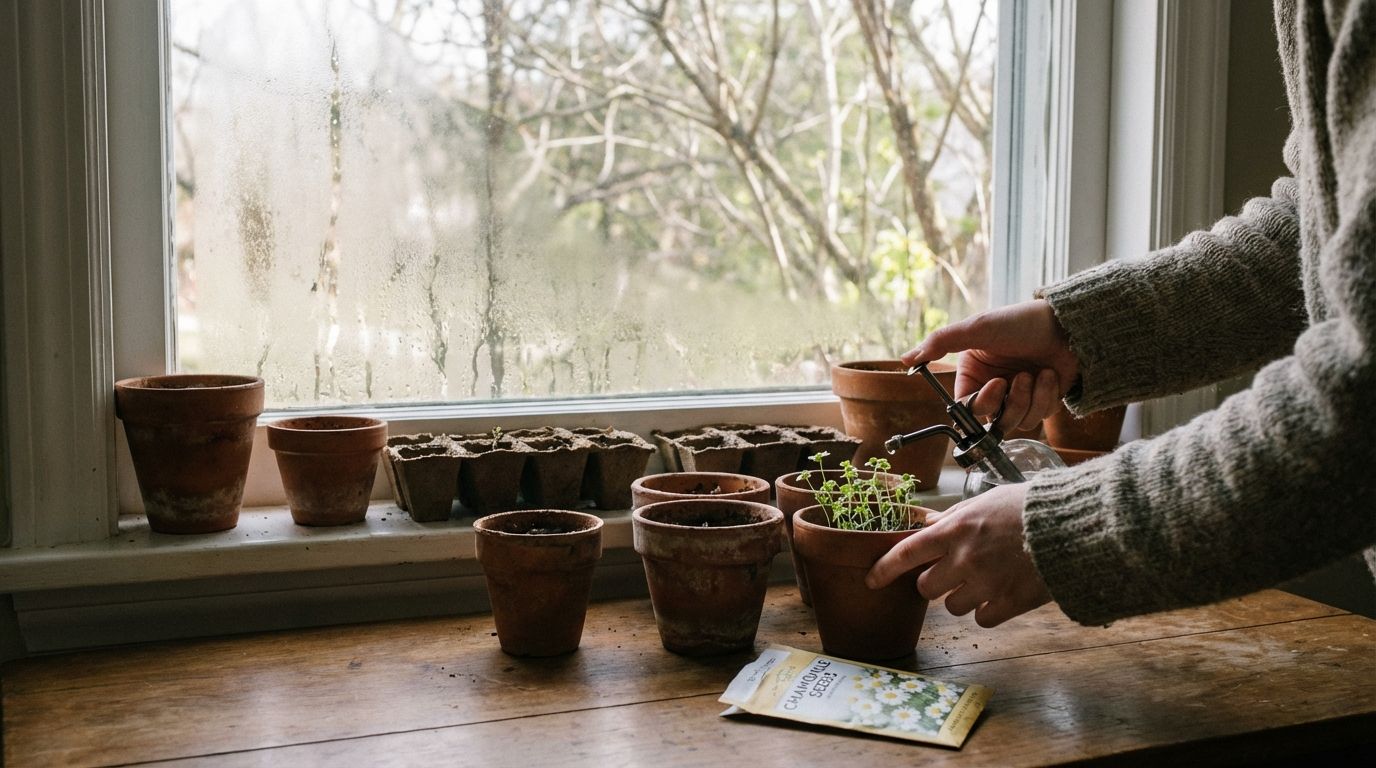
starting chamomile from seed indoors

What You'll Need

German chamomile seeds (matricaria chamomilla) - Choose organic, heirloom, non-GMO seeds labeled for herb or tea use. Available from Johnny's Selected Seeds, Strictly Medicinal Seeds, Sow Right Seeds, or Mountain Rose Herbs.
Seed-starting trays or small pots - A standard 72-cell seedling tray or 3-inch pots work well. Chamomile does not like being transplanted once its roots are established, so start in the container size you plan to use until outdoor transplanting.
Seed-starting mix - Fine-textured, sterile, and lightweight. Avoid rich potting soil, as chamomile actually prefers leaner, well-draining soil and too-rich a mix can reduce flower production.
Spray bottle - Essential for misting the soil surface without disturbing seeds, which are very small.
Grow light or south-facing window -Chamomile seeds require light to germinate and should not be buried. A south-facing window in March is often workable, though supplementing with a grow light improves results.
Clear dome or plastic wrap (optional) - Helps retain surface moisture during germination, though chamomile is less sensitive to humidity than some herbs.
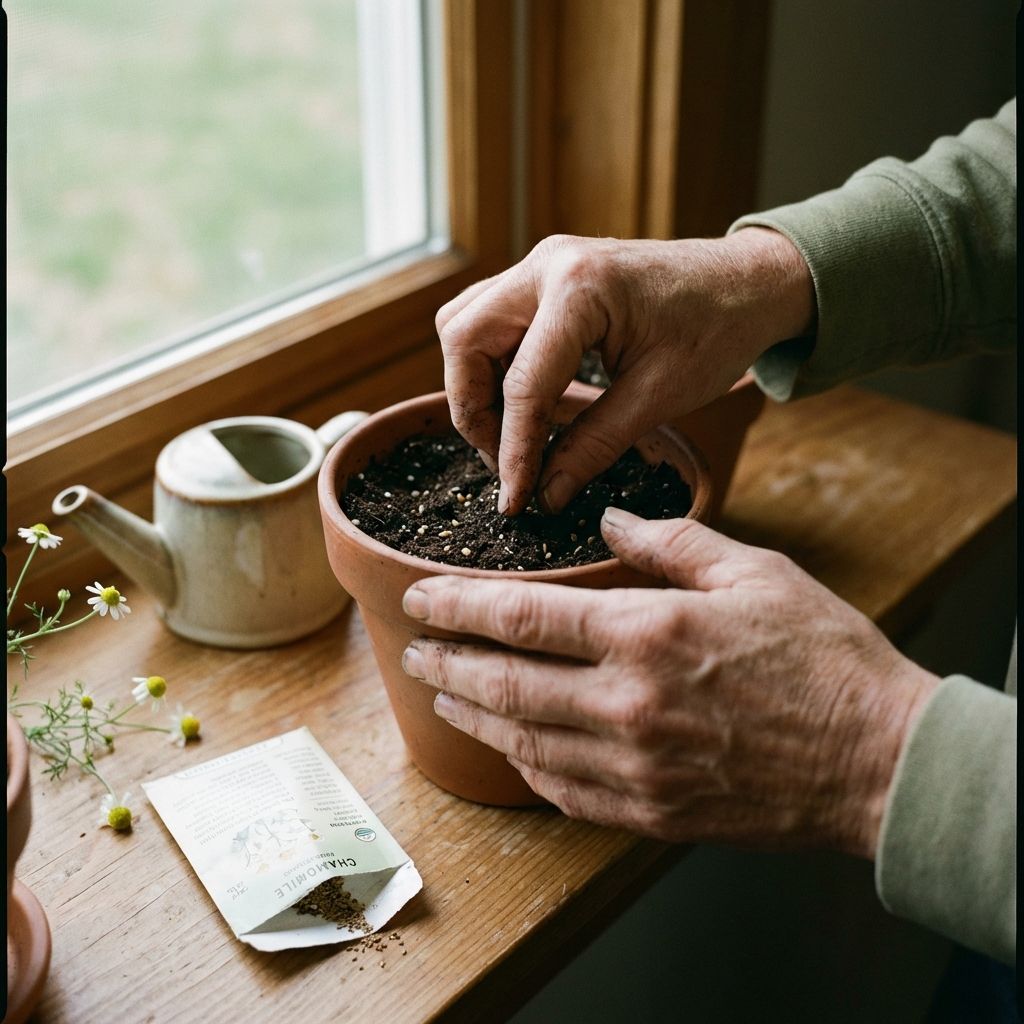
Capture a close-up shot of hands delicately planting chamomile seeds in soil, showcasing the process of starting chamomile from seed indoors.
Starting chamomile from seed indoors

Step-by-Step Instructions

Day 1: Prepare and Sow
  1. Fill your seed-starting tray or pots with pre-moistened seed-starting mix. It should feel like a wrung-out sponge, evenly damp but not waterlogged.
  2. Chamomile seeds are very tiny and need light to germinate. Do not bury them. Simply scatter 2 to 3 seeds per cell directly on the surface of the soil and press them gently into contact with the mix using your fingertip or the back of a spoon. Do not cover with additional soil.
  3. Mist the surface gently with a spray bottle to settle the seeds without displacing them.
  4. Place in a warm spot: ideal soil temperature is 65 to 75°F. A heat mat is helpful but not required. Cover loosely with plastic wrap or a dome if desired to maintain surface moisture.

Days 7–14: Germination
  1. Check daily. Mist the surface if it looks dry but avoid saturating the soil. Chamomile seedlings are susceptible to damping off (a fungal condition caused by too much moisture), so err on the side of slightly drier rather than wetter.
  2. Germination typically occurs in 7 to 10 days. You will see tiny, thread-like seedlings emerging. Chamomile seedlings are delicate and fine at first, almost grass-like. This is normal.
  3. Once seedlings appear, remove any cover and move immediately to your light source.
Weeks 2–6: Seedling Care
  1. Provide 12 to 16 hours of light per day. Chamomile seedlings stretched toward limited light will become weak and leggy. If using a grow light, keep it 2 to 4 inches above the seedling tops and raise it as they grow.
  2. Water carefully, bottom watering is ideal. Set the tray in a shallow dish of water for 15 to 20 minutes, allow it to absorb moisture from below, then drain. This keeps the surface drier, which reduces damping off risk.
  3. Once true leaves appear (the second set, which look like small chamomile leaves rather than the rounded seed leaves), thin to one strong seedling per cell by snipping extras at the soil line with small scissors. Do not pull: it can disturb the roots of the seedling you are keeping.
Late April to May: Hardening Off & Transplanting
  1. Begin hardening off 1 to 2 weeks before your target transplant date. Place seedlings outside in a sheltered spot (protected from wind and direct afternoon sun) for increasing amounts of time each day, starting with 1 to 2 hours and building to a full day.
  2. Transplant outdoors once nighttime temperatures are consistently above 40°F and all heavy frost risk has passed. German chamomile can tolerate a light frost but not a hard freeze.
  3. Choose a full-sun location (at least 6 hours of direct sunlight daily) with well-drained soil. Importantly, avoid overly rich or heavily amended soil, chamomile actually blooms more abundantly in leaner conditions. Space plants 8 to 12 inches apart for good air circulation.
patient room with natural materials
Your Health Starts Here

Talk with a certified functional medicine expert and start your journey today

Schedule a Discovery Call